

GearAndFish is reader-supported. As an Amazon Associate I earn from qualifying purchases. When you buy through links on our site, we may earn an affiliate commission, at no extra cost to you. Learn more.
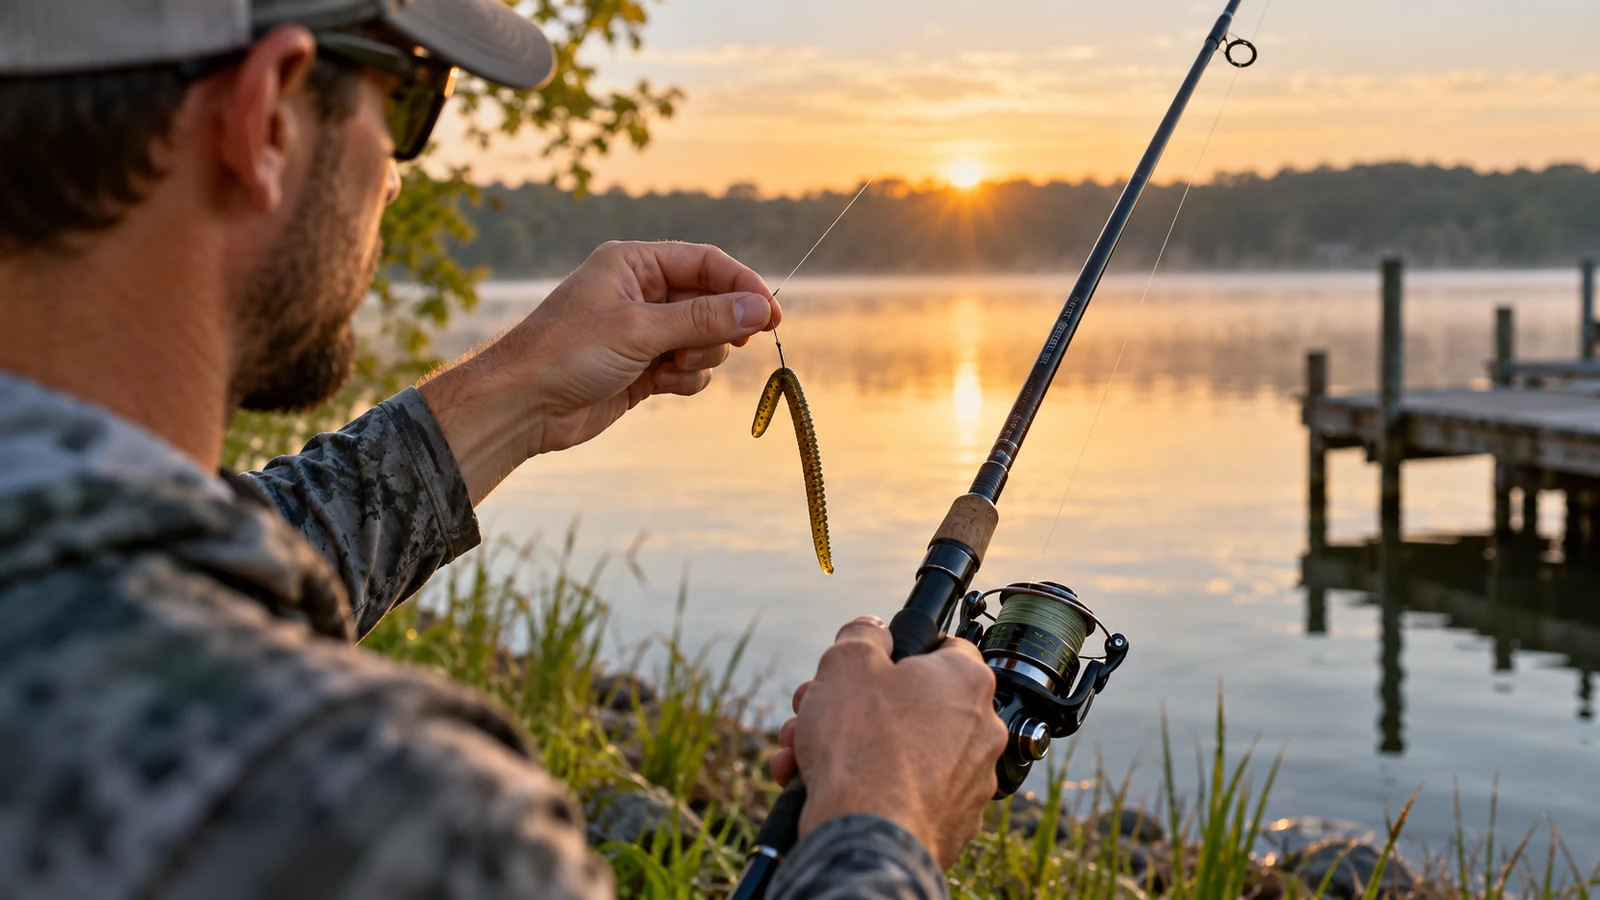
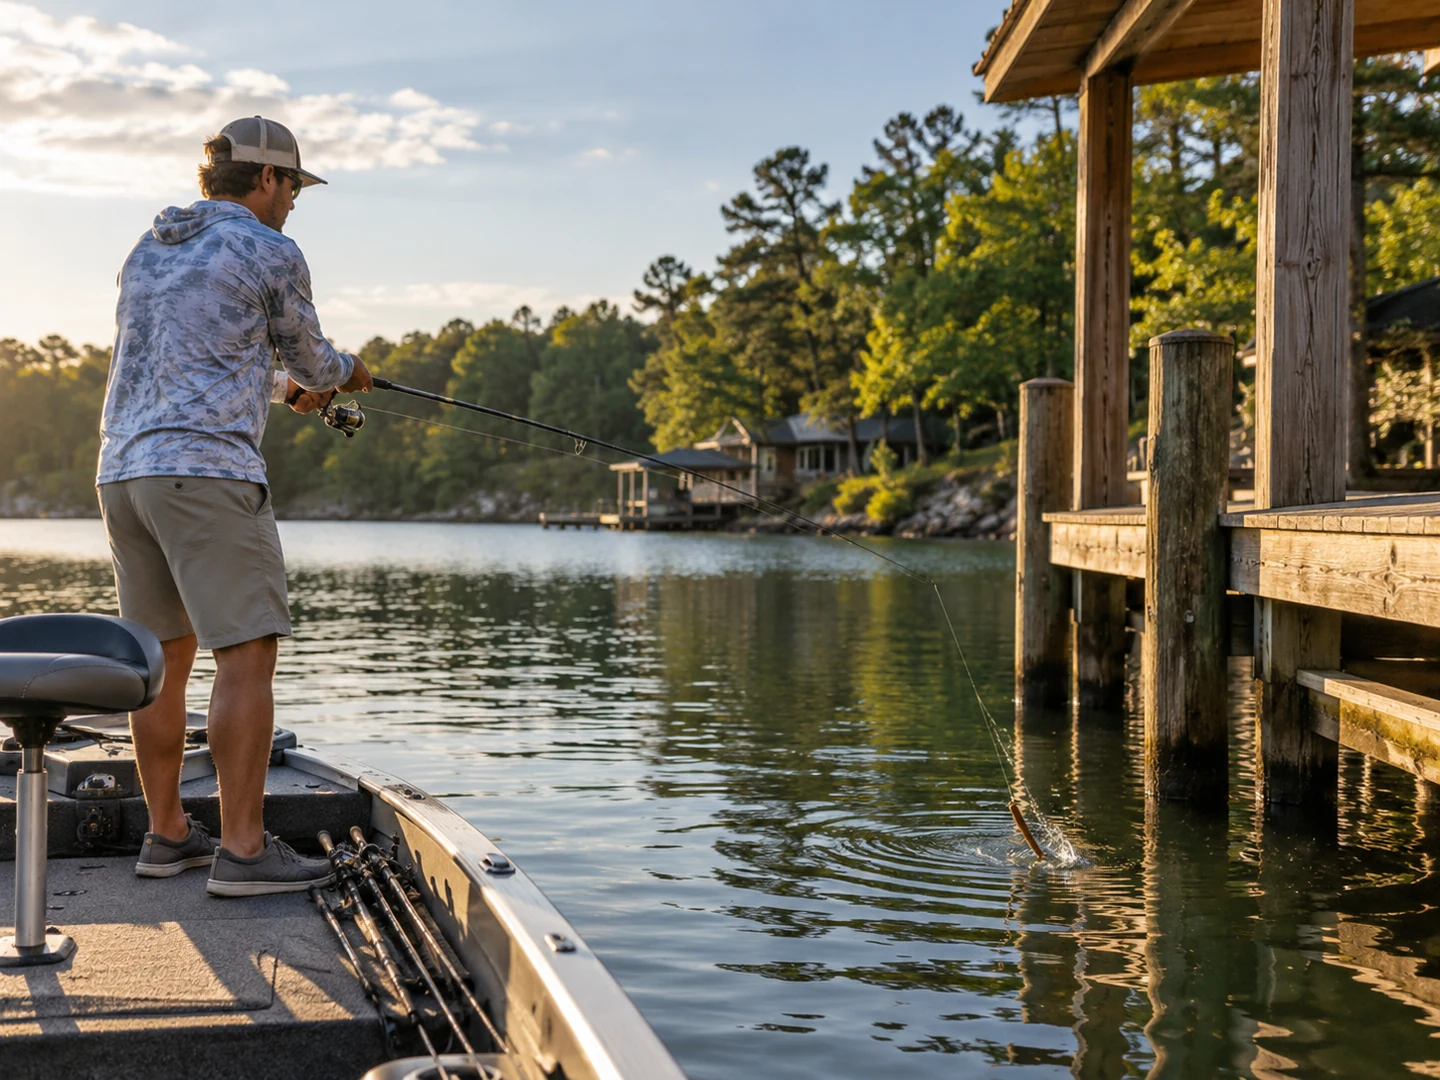
A wacky rig is a soft-plastic stick worm hooked across its middle so both ends can move freely as the bait sinks. For bass fishing, the simplest starting setup is a 5-inch stick bait, a small finesse hook, and no added weight. Cast it beside cover, give it a controlled slack-line fall, watch the line, then use gentle lifts and let it fall again.
GearAndFish approach: this is a technique-first guide, not a product roundup. The setup guidance below was checked against current fishing education resources, manufacturer rigging information, current US search results, and live Amazon.com US listings. This article is research-based and does not claim first-hand product use.
The easiest wacky rig setup starts weightless
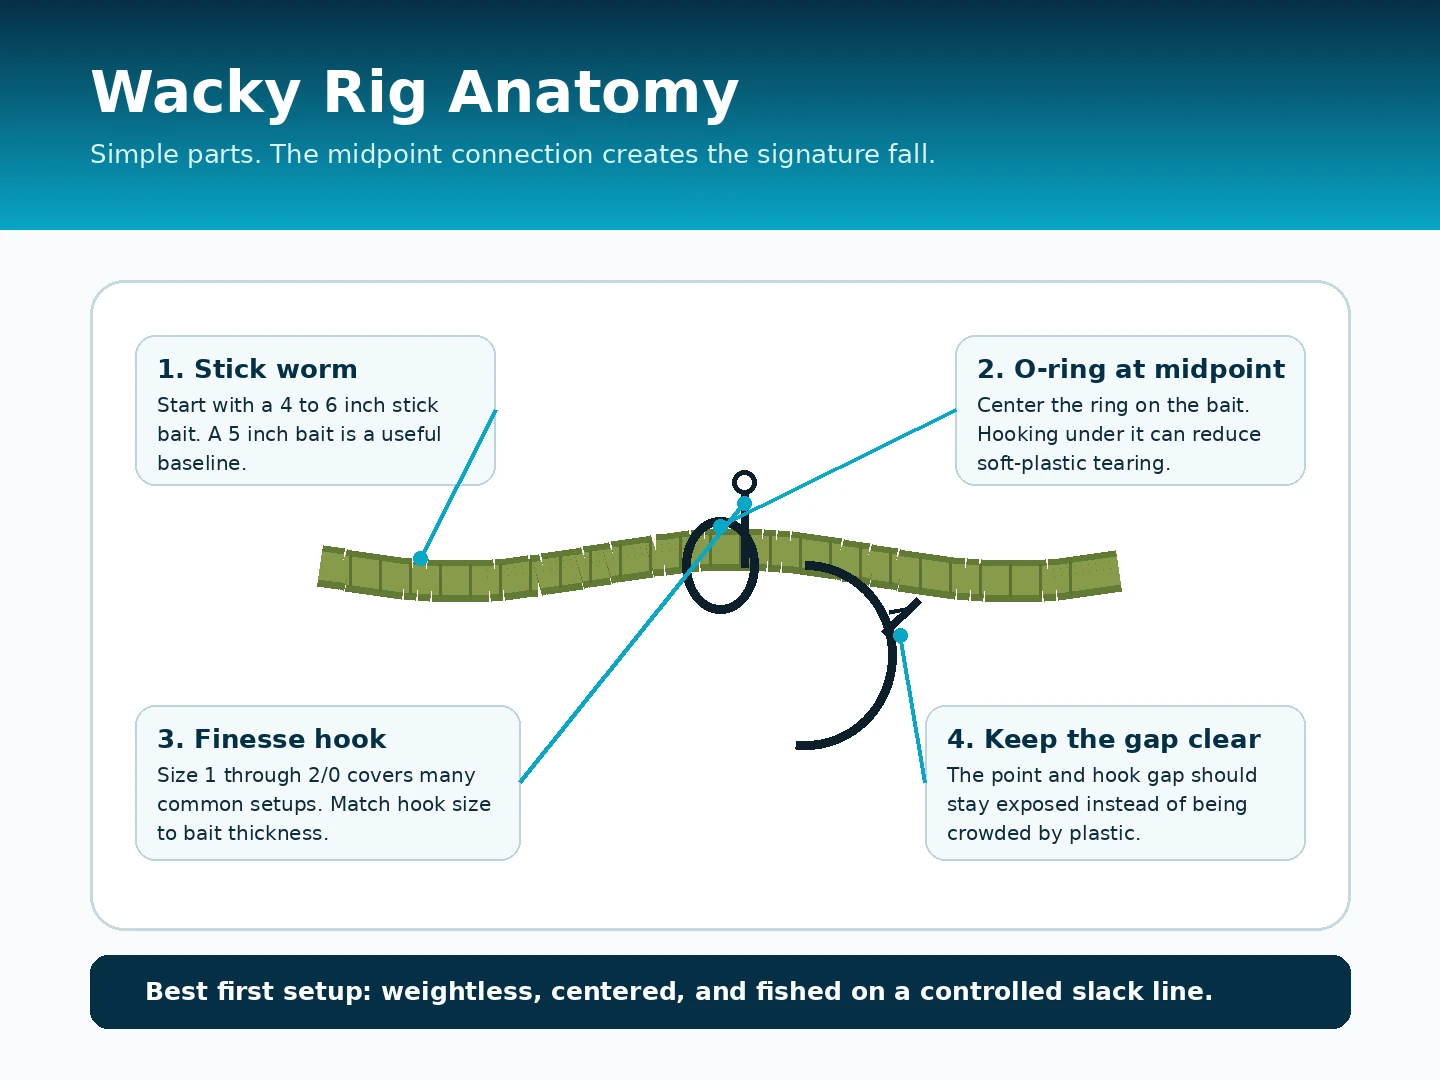
Put an O-ring near the center of a 4- to 6-inch stick worm, slip a size 1 to 2/0 finesse-style hook under the ring, and keep the hook gap open. A 5-inch bait with a size 1 or 1/0 hook is a practical starting point. Fish it on spinning gear, cast tight to a specific target, and let the bait sink before adding movement.
What is a wacky rig?
The defining feature is the hook position. Instead of entering through the head of the worm, the hook supports the bait near its midpoint. That leaves both ends free and creates a slow, horizontal-looking fall with movement at each end of the plastic.
The basic rig can be almost minimal: line, hook, and soft-plastic stick bait. An O-ring is optional, but it is useful because it lets the hook hold the ring instead of repeatedly tearing through the worm. The Maine Department of Inland Fisheries and Wildlife specifically recommends O-rings as one way to secure wacky-rigged soft plastics and reduce bait loss.
What you need for a basic wacky rig
- Stick worm: 4 to 6 inches is a useful working range, with 5 inches being the easy default for bass.
- Hook: a wacky, finesse wide-gap, octopus-style, or similar short-shank hook with enough gap to clear the bait.
- O-ring: optional but useful for keeping the bait attached longer and reducing torn soft plastic.
- Spinning setup: light enough to cast a nearly weightless worm accurately, but matched to the cover you plan to fish.
If hook sizing is unfamiliar, the GearAndFish fishing hook size chart explains the numbering system. Hook size labels are not a perfect measure of physical dimensions across brands, so always check the actual hook shape and bait fit.
How to rig a wacky rig step by step
- Choose the worm. Start with a 5-inch stick bait if you do not already have a reason to go smaller or larger.
- Find the midpoint. You want the two ends to hang with reasonably similar leverage around the hook point.
- Add the O-ring. Slide a snug ring to the middle of the bait. A wacky tool makes this easier, but it is not required.
- Attach the hook. Slip the hook point under the O-ring, or pierce the worm directly through its middle if you are not using a ring.
- Check the gap. The hook point and gap should remain clear. If the plastic crowds the bend, use a different hook shape or size.
- Check the bait balance. Hold the rig by the line and make sure the worm is not badly off-center unless you intentionally want an uneven fall.
Direct-hooking through the worm is the fastest possible setup, but soft stick baits can tear after casts or fish. The O-ring method adds one small piece of terminal tackle while keeping the same basic wacky presentation.
What hook size works for a wacky rig?
There is no single universal size because a size label does not produce the same physical hook across every brand and pattern. For a typical 5-inch stick worm, size 1 or 1/0 is a sensible starting point. A 2/0 can make sense with a thicker bait, stronger hook pattern, or heavier cover, while smaller hooks can suit compact plastics and open-water finesse fishing.
Gamakatsu identifies its Finesse Wide Gap as a hook designed for wacky rigging, and the family is offered in multiple sizes. The exact Amazon example mapped in this article is the NS Black size 1, 25-pack, model 230410-25.
What worm should you use?
A straight stick bait is the standard because it hangs cleanly from the middle and falls without needing a built-in tail action. Five inches is the easiest baseline, but changing length and plastic density changes how quickly the bait sinks and how much it moves on the fall.
The Yamamoto 5-inch Senko is one current example specifically described by the manufacturer for wacky rigging. The exact Amazon mapping used here is the 10-pack in Green Pumpkin with Large Black Flake, model YAM-9-10-297.
You do not need this exact worm to learn the technique. The important starting characteristics are a straight soft-plastic profile, enough weight to cast on your setup, and a size that matches the hook.
How to fish a wacky rig
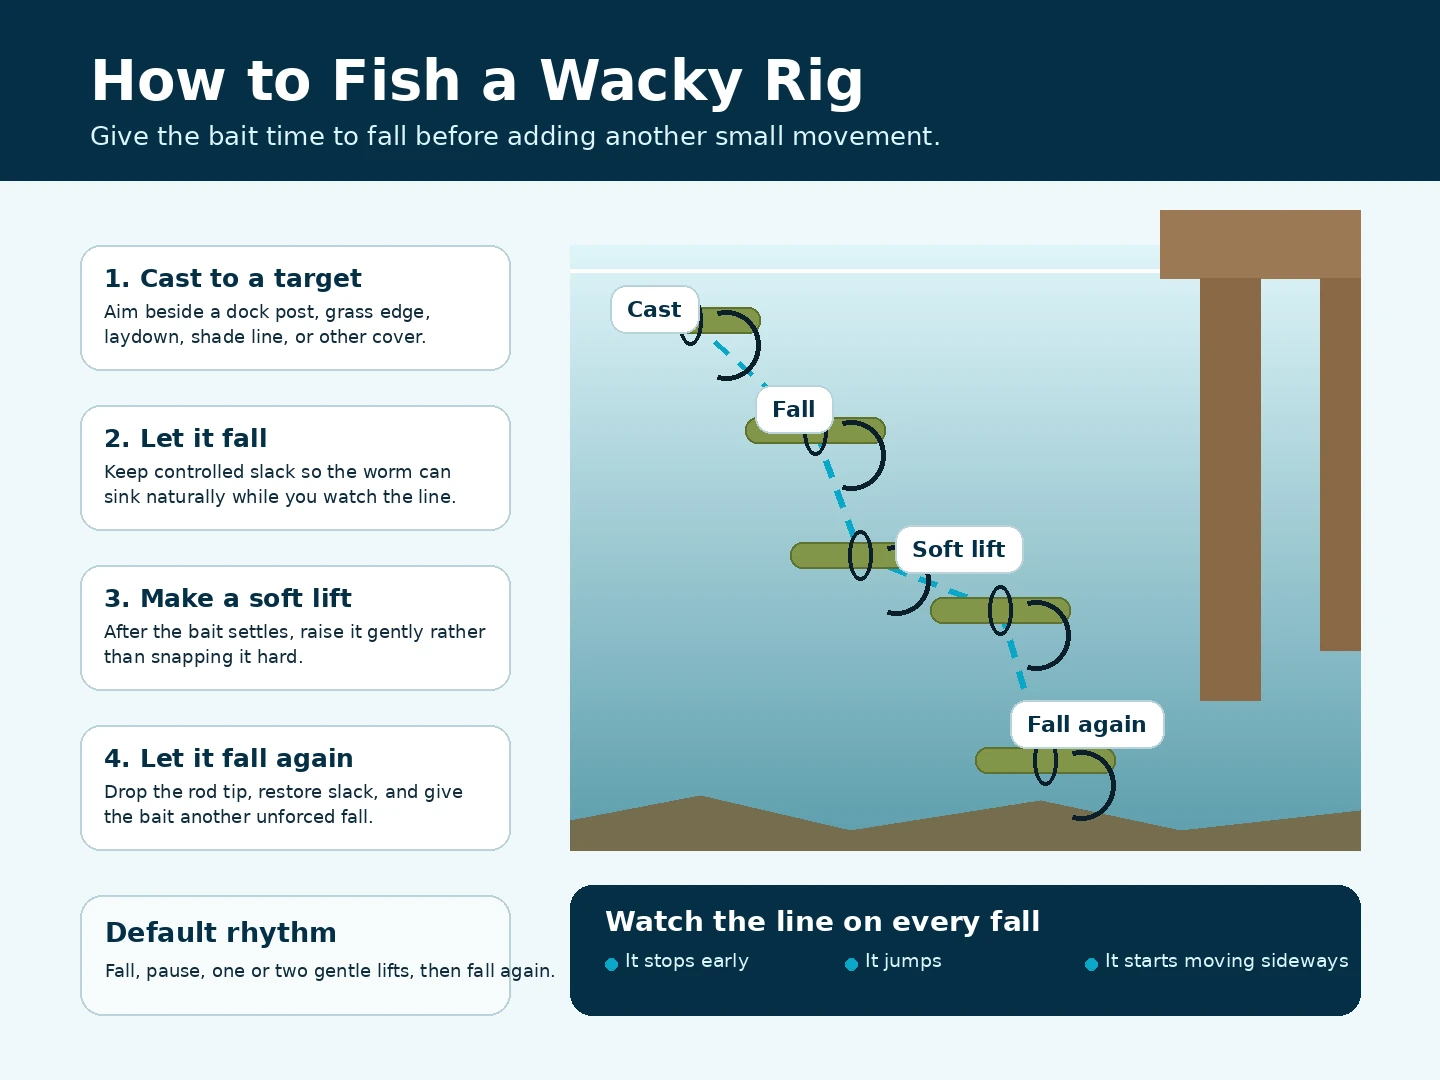
The most important part of the retrieve is usually the fall, not the twitch. Current wacky-rig guides across the US search results consistently emphasize giving the worm time to sink beside a defined target rather than working it like a fast-moving lure.
- Cast beside a specific target. Docks, shade lines, grass edges, laydowns, isolated wood, and visible transitions all give the bait a reason to pass close to a fish.
- Let the worm fall on controlled slack. Too much tension can pull the bait toward you; too much loose line can make bite detection difficult.
- Watch the line. A line jump, sideways movement, or a fall that stops earlier than expected can signal a bite.
- Let the bait settle. Give it a short pause instead of immediately reeling it away from the target.
- Make one or two gentle lifts. Raise the bait, then lower the rod tip enough to let it fall again.
- Repeat or recast. Around high-percentage cover, repeated accurate presentations are often more useful than dragging the rig quickly through empty water.
How to detect a bite and set the hook
Because many strikes happen while the bait is falling, line watching matters. High-visibility braid can make line movement easier to see, while a fluorocarbon leader can add abrasion resistance and a lower-visibility connection near the bait.
When the line clearly moves or the bait feels loaded, reel down until you are connected and use a controlled sweep rather than an exaggerated overhead snap. Exact hook-setting style depends on hook pattern, line stretch, and cover, so follow the hook manufacturer’s guidance if you use a specialized circle-hook setup.
Where a wacky rig makes the most sense
The wacky rig is especially useful when you want a slow, subtle presentation around specific cover or when bass are not responding to faster baits. It is often used around docks, grass edges, laydowns, shade, and relatively clear or pressured water because the bait can stay in a small strike zone without much forward movement.
It is less efficient when the job is to cover a huge area quickly, punch through thick vegetation, or hold bottom in strong current. In those situations, a different rig or added weight can be more practical.
Weightless wacky rig vs weighted wacky vs Neko rig
Weightless wacky rig: the best first version to learn. The worm falls slowly and the hook sits near the center.
Weighted wacky hook: adds weight at or near the hook, helping the bait reach deeper water faster while keeping a center-hooked presentation.
Neko rig: usually adds a nail weight into one end of the worm while the hook remains near the middle. That changes the fall and bottom posture, so it is better treated as a related technique rather than simply a heavier wacky rig.
Rod, reel, and line for wacky rig fishing
Spinning gear is the easiest match for a nearly weightless worm because it handles light presentations and skipping casts well. A medium-light to medium spinning rod with a fast action is a sensible place to start, paired with a 2500 or 3000 size reel. Exact sizing still depends on the rod, line, cover, and the manufacturer’s reel-size system.
Two simple line approaches work well:
- Braid to leader: a light braid main line with a fluorocarbon leader gives visible line above the water and a replaceable leader near cover.
- Straight mono or fluorocarbon: simpler to rig, especially for beginners who do not want a leader knot.
For gear selection, see the GearAndFish guides to spinning rods, spinning reels, braided fishing line, and fluorocarbon fishing line.
Common wacky rig mistakes
- Fishing too fast: the bait needs time to fall. Constant twitching can remove the presentation you rigged it for.
- Using too much hook: a bulky hook can overpower a small finesse bait and may reduce the free fall you want.
- Crowding the hook gap: the worm should not fill the working space between the point and bend.
- Ignoring line movement: waiting for a hard pull can mean missing subtle bites that happen on the drop.
- Dragging it through the wrong cover: an exposed hook is efficient in open targets but can snag in heavier cover. Use a weedless hook style or another rig when necessary.
- Leaving torn plastic in the water: collect damaged soft baits and dispose of them properly instead of discarding them at the bank or boat ramp.
When to use a wacky rig instead of a Texas or Ned rig
Choose the wacky rig when you want a slow, center-hooked fall beside visible cover or suspended fish. Choose a Texas rig when weedlessness, bottom contact, or working thicker cover matters more. Choose a Ned rig when you want a compact jig-and-plastic presentation that can work the bottom efficiently.
These are separate techniques, not interchangeable names. That distinction is why GearAndFish keeps the wacky rig as its own setup guide instead of folding it into a general bass-rig article.
A simple starter wacky rig
- 5-inch straight stick worm
- Size 1 or 1/0 finesse-style hook
- Snug O-ring at the midpoint
- Medium-light or medium fast-action spinning rod
- 2500 size spinning reel as a starting point
- Light braid with a fluorocarbon leader, or a simple straight-through mono/fluorocarbon setup
Start weightless. Add complexity only when depth, current, vegetation, or cover gives you a clear reason.
How this guide was researched
GearAndFish reviewed the current US search results for the query wacky rig and found a clear how-to intent: current results focus on setup, hook and worm placement, retrieve, tackle, and when to fish the technique. That supports a dedicated technique URL distinct from the site’s Ned rig, Carolina rig, and Texas rig pages.
Key fact sources included New York State DEC wacky-rig guidance, Maine IFW soft-plastic guidance, Yamamoto Senko information, and Gamakatsu Finesse Wide Gap specifications. Amazon.com US product pages were rechecked on September 28, 2026 for the exact mapped ASINs.
Wacky rig FAQ
What is a wacky rig?
A wacky rig is a soft-plastic worm or stick bait hooked near its midpoint so both ends remain free to move as the bait falls.
Where should the hook go on a wacky rig?
Place the hook near the middle of the worm. You can pierce the plastic directly or put an O-ring around the midpoint and slip the hook under the ring.
Do you need an O-ring for a wacky rig?
No. You can hook the worm directly through the middle. An O-ring is useful because it can reduce tearing and help keep soft plastic from being lost.
What hook size should you use for a 5-inch wacky worm?
Size 1 or 1/0 is a practical starting point for many 5-inch stick worms, but hook dimensions vary by brand and pattern. Use enough gap to clear the bait without making the hook unnecessarily bulky.
How do you fish a wacky rig?
Cast beside a defined target, let the bait fall on controlled slack while watching the line, pause after it settles, then make one or two gentle lifts and let it fall again.


