
GearAndFish is reader-supported. As an Amazon Associate I earn from qualifying purchases. When you buy through links on our site, we may earn an affiliate commission, at no extra cost to you. Learn more.
Walleye fishing for beginners gets much easier when you stop chasing a perfect lure and focus on four things: where the fish are holding, how deep they are, how fast your bait is moving, and whether you can keep that bait in the strike zone. A medium spinning setup, a few jigs, a slip-bobber option, and one small crankbait can cover a surprising amount of water without turning your first tackle box into a shopping project.
Start with one spinning setup and learn depth control
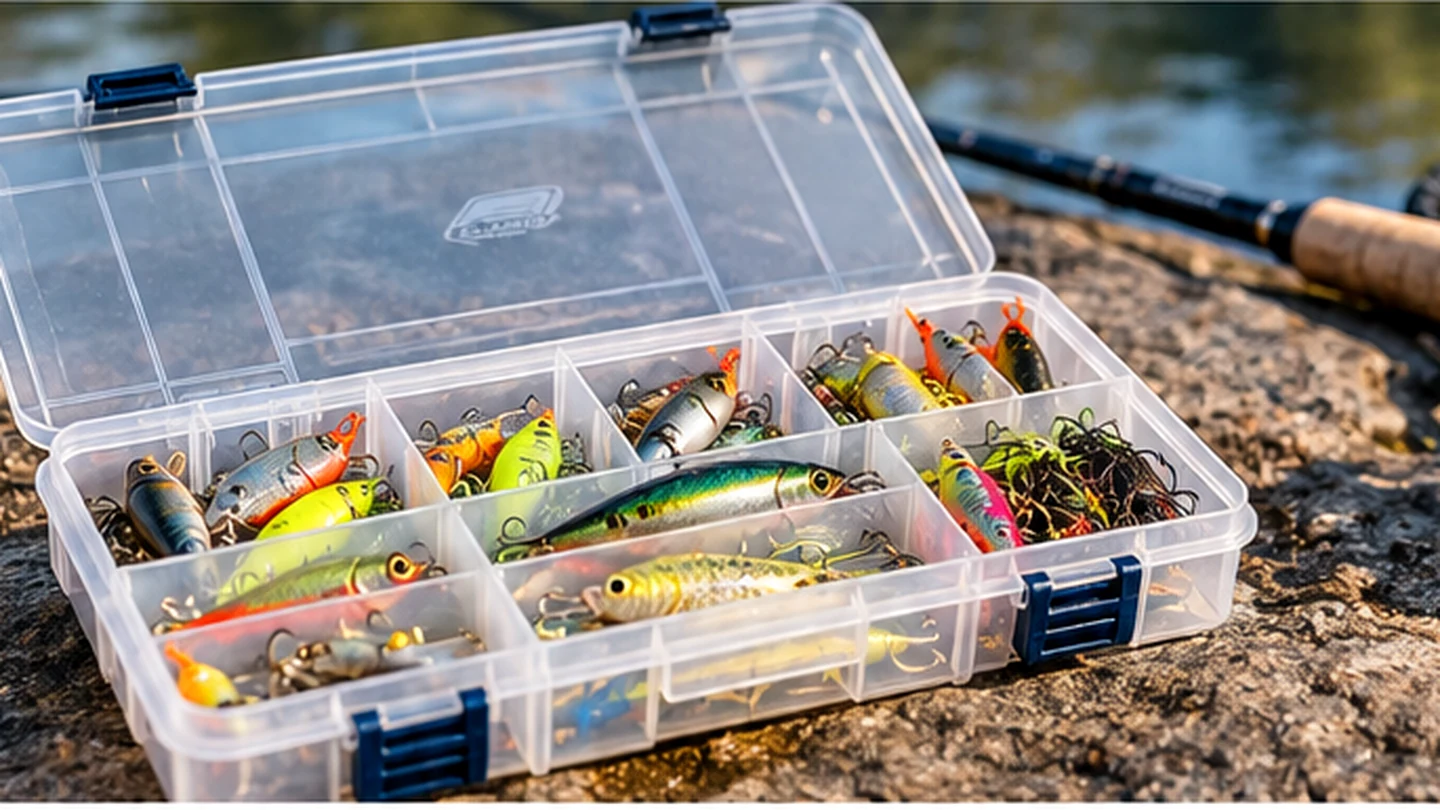
For a first walleye trip, use a medium or medium-light spinning rod, a 2500 to 3000 class reel, and roughly 6 to 10 lb monofilament or an equivalent light braid-and-leader setup. Find points, drop-offs, weed edges, gravel or rock, then fish the depth where walleye are actually holding. A 1/4-ounce jig is a useful middle starting point when it is heavy enough to feel bottom. Add a slip bobber when fish are holding in one narrow zone and a crankbait when you need to cover water.
Walleye fishing for beginners: a simple starter setup
You do not need a species-specific rod for your first trip. Minnesota DNR’s basic guidance is a medium-action spinning rod and reel with 6 to 10 lb line, which is a sensible place to begin. A medium-light rod can be useful for lighter jigs, but a general-purpose medium spinning rod gives a new angler more flexibility if the same setup also handles bass, pike, or mixed freshwater fishing.
| Part | Simple starting point | Why it works for a beginner |
|---|---|---|
| Rod | About 6 ft 6 in to 7 ft, medium or medium-light spinning | Easy casting with enough sensitivity for common jig and live-bait work. |
| Reel | 2500 to 3000 class spinning reel | A practical general-freshwater size range. Exact capacity varies by brand. |
| Line | 6 to 10 lb mono, or light braid with a suitable leader | Simple enough to manage while still fitting common walleye presentations. |
| Jigs | 1/8, 1/4, and 3/8 oz | Lets you change weight for depth, wind, and current while keeping bottom contact. |
| Tools | Net, pliers, measuring tool | Helps with landing, hook removal, and checking local size rules. |
6 ft 6 in to 7 ft spinning
2500 to 3000 class
6 to 10 lb
1/8, 1/4, and 3/8 oz
If you are still choosing the rod, our spinning rod guide explains the trade-offs between common lengths and powers. If reel numbers are confusing, see fishing reel sizes explained. For line connections, the fishing knot guide covers practical terminal and leader knots.
Berkley Trilene XL in the exact Amazon child listing mapped here is 10 lb, 300 yd, Fluorescent Clear/Blue, model XLFS10-26. It is a straightforward monofilament example for a first spinning setup, not a requirement for catching walleye.
Where to find walleye
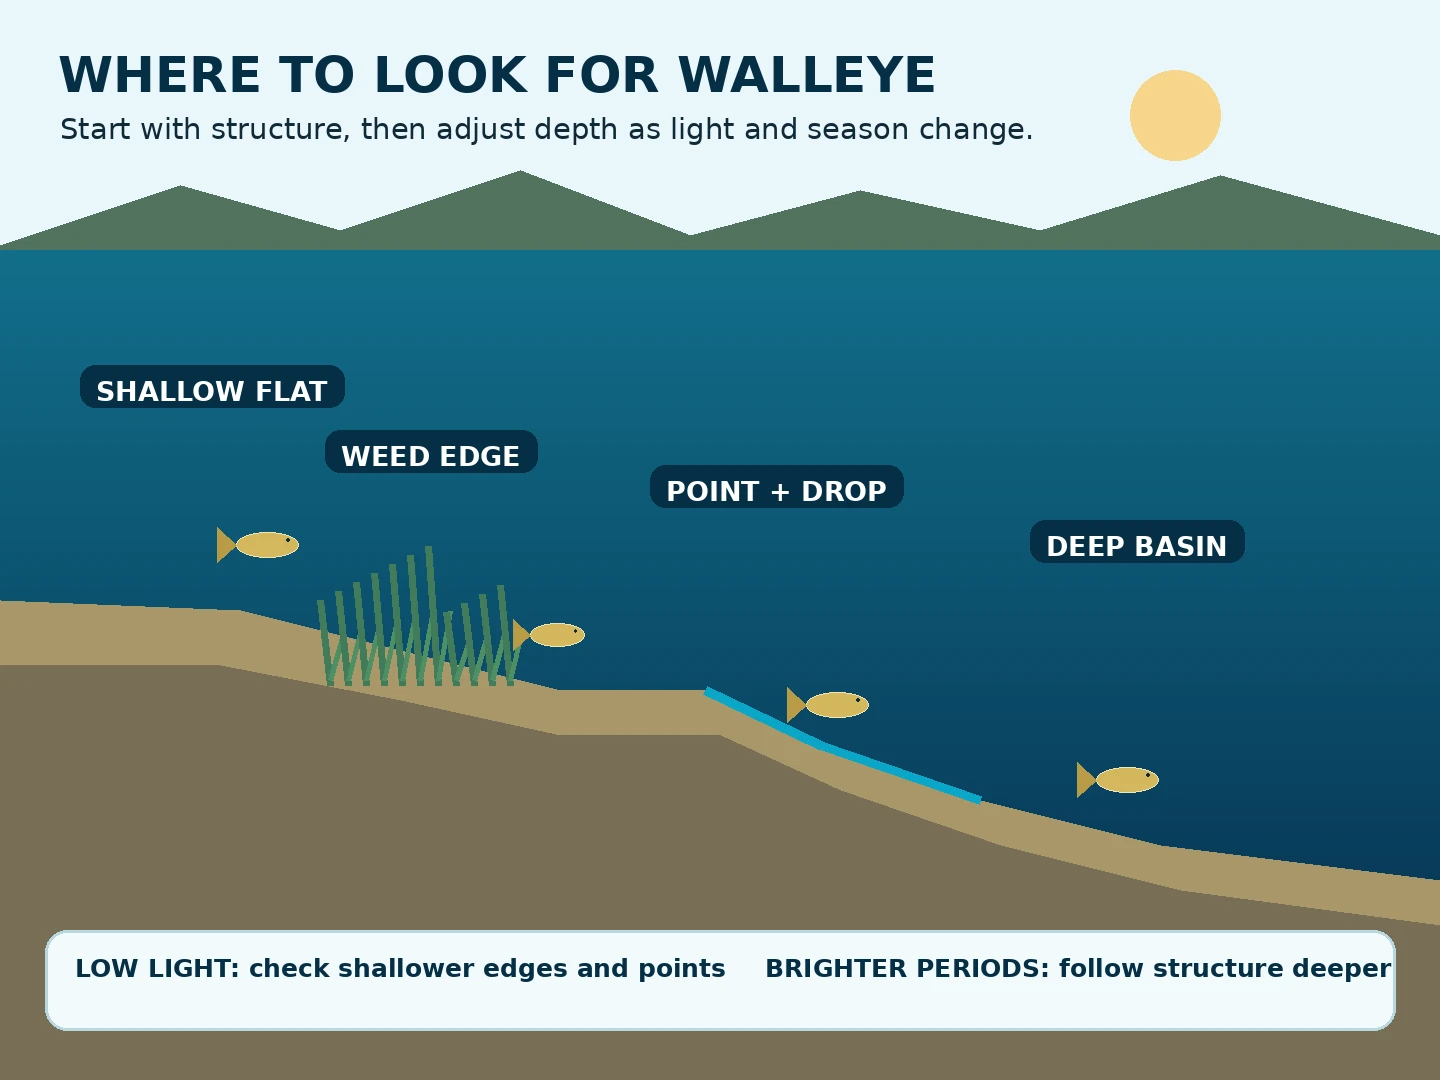
Think in terms of structure and access to food, not one magic depth. Points, humps, saddles, weed edges, gravel bars, rocky transitions, drop-offs, and current edges can all hold fish. The productive depth changes with season, light, wind, water clarity, forage, and the individual lake or river.
Spring and early summer often put more fish in reachable shallow or semi-shallow water. As summer progresses, many walleye move deeper or relate to offshore structure, although weeds and low-light shallows can still matter. In fall, fish may move back toward shoreline structure while others remain deep. That is why a fixed rule such as “walleye are always in 15 feet” is less useful than learning to follow the structure from shallow to deep.
If you are fishing from shore
A boat makes it easier to follow deep structure, but it is not mandatory. From shore, focus on places that bring deeper water or current close to you: rocky points, riprap, river mouths, dams where legal access exists, current seams, and shallow feeding areas during low light. Wind pushing into a bank can reduce visibility and move food, which is one reason the classic “walleye chop” can be productive.
When to fish
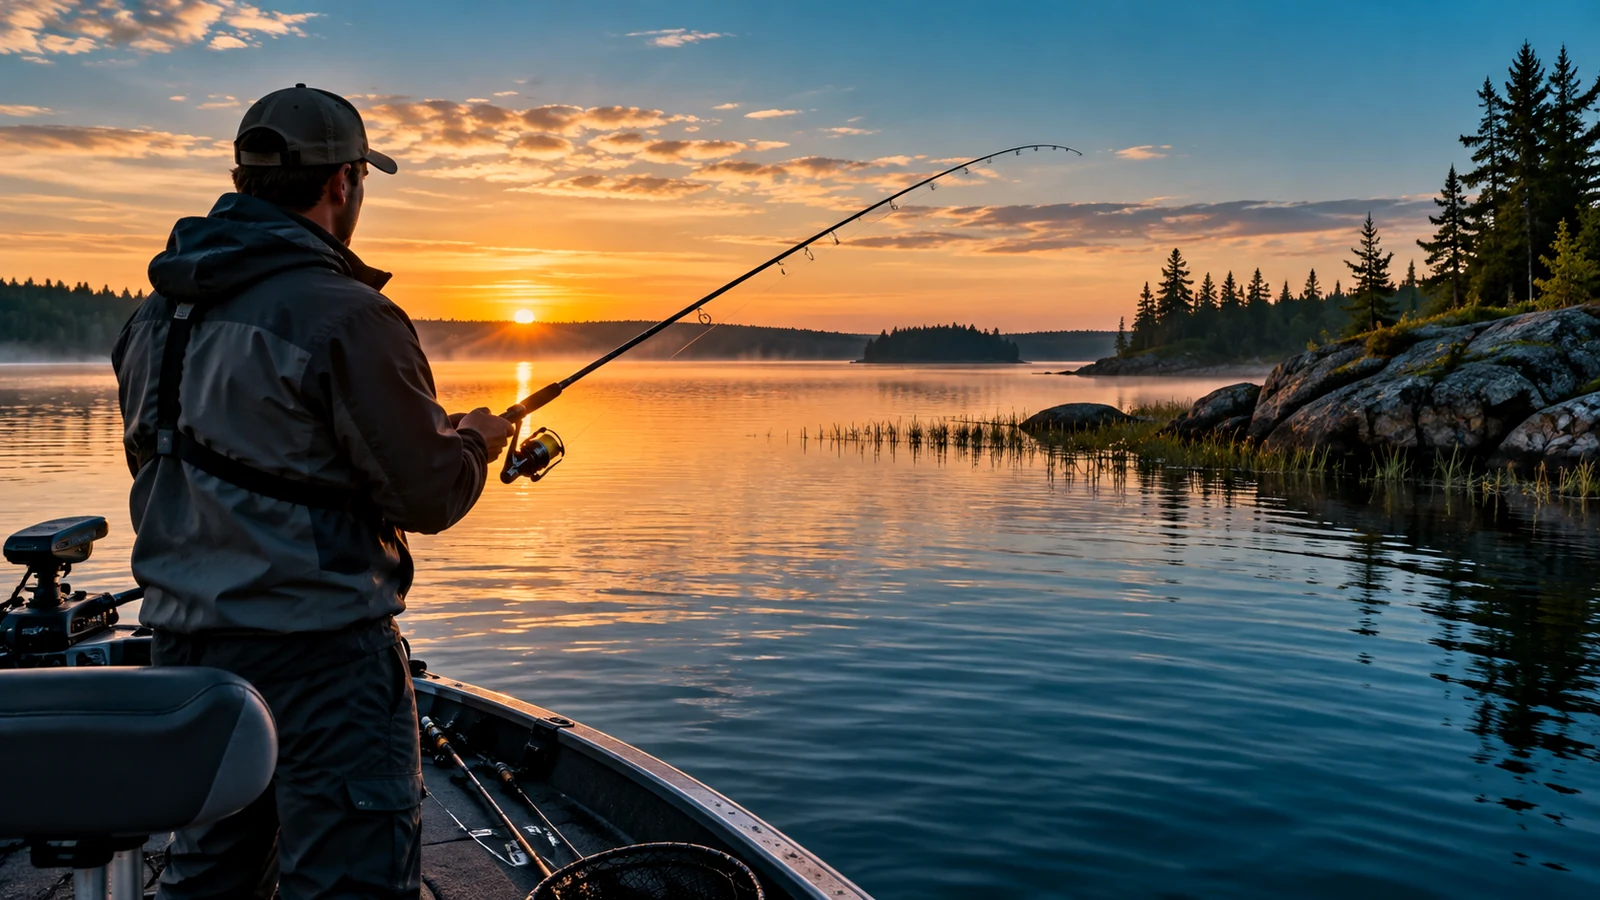
Dawn, dusk, cloudy periods, and wind can make shallow or feeding fish easier to reach. Walleye have adaptations that help them feed in low light, but that does not mean midday fishing is pointless. Bright conditions often change the location and presentation: look deeper, tighter to shade or structure, or slow down around fish you have already located.
Three walleye techniques to learn first
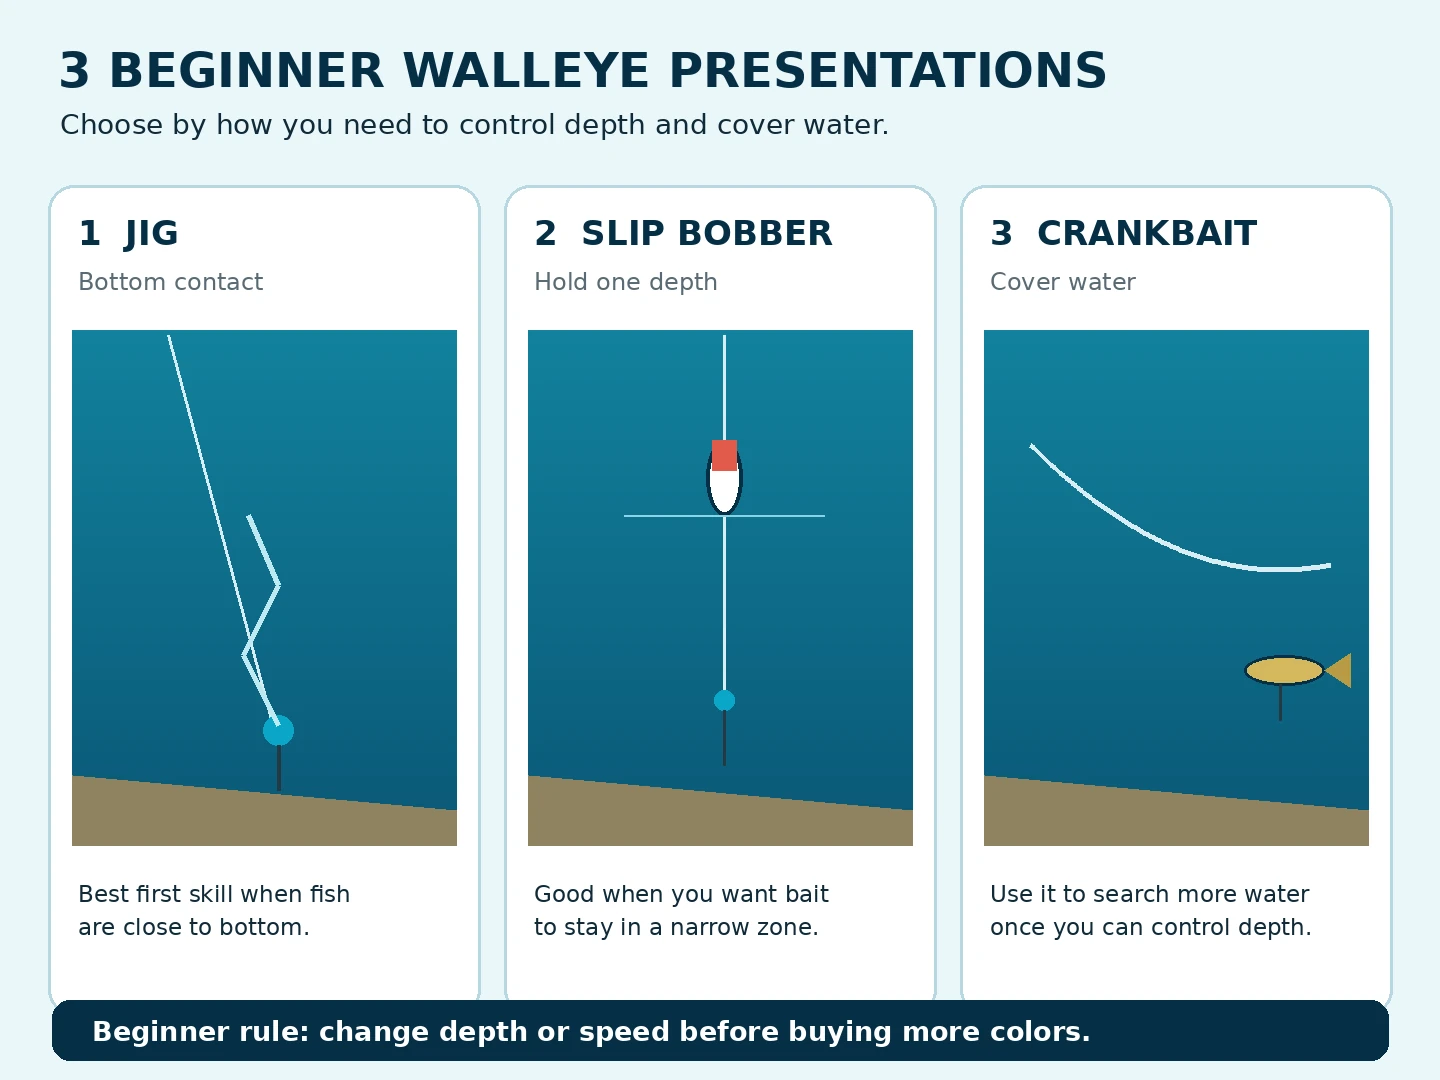
These three methods cover different jobs. Learn the job first, then add lure variety later. If you want a full product comparison, our best walleye lures guide is the separate commercial roundup.
1. Jig and minnow or soft plastic: learn bottom contact
A jig is the best place to learn because you can change only the weight while keeping the presentation simple. Use the lightest jig that still lets you know where bottom is. Minnesota DNR specifically lists 1/8, 1/4, and 3/8 oz as common weights. A 1/4-ounce jig is a useful middle point, then go lighter in shallow, calm water or heavier when depth, current, or wind makes contact hard to feel.
Cast or drop the jig, let it reach bottom, lift it just enough to move it, and follow it back down with controlled line. Many bites are subtle. If you cannot tell when the jig reaches bottom, solve that before worrying about color.
The Northland Deep-Vee child listing mapped here is the Walleye color in 1/4 oz, ASIN B0891QB6HH. It is a relevant example because the weight matches the beginner middle ground above. Add your own live bait or soft plastic.
2. Slip bobber: hold bait in one depth zone
A slip bobber is useful when you know the depth you want to fish and would rather keep bait in that zone than constantly retrieve it. Set the stop so the bait rides just above the bottom or the fish you are marking, use enough weight to make the float behave cleanly, and resist the urge to move it every few seconds. It is a good choice around weed edges, rock, and other spots where walleye are concentrated rather than scattered.
3. Crankbait: cover water and search
Crankbaits make sense when fish are spread out or you need to search along a break, flat, or open-water edge. The key is running depth, not just color. A bait that passes above or below the fish can look perfect and still miss the zone.
The Berkley Flicker Shad 7 mapped here is the 7 cm, 5/16 oz HD Threadfin Shad child listing, ASIN B08DDBZC8J. Amazon lists this variant with an 11 to 13 ft swimming-depth specification, making it a concrete example of a mid-depth search bait rather than a universal walleye lure.
A simple first-trip plan
- Check the rules first. Confirm your fishing license, open season, bag and size limits, legal bait, transport rules, and any water-specific restrictions with the state or tribal authority that manages the water.
- Pick one structural target. Start with a point, weed edge, rocky break, current edge, or other feature you can fish methodically.
- Start with a 1/4-ounce jig if conditions allow it. If you cannot feel bottom, move heavier. If it is constantly wedged in rock or dropping too aggressively in shallow water, move lighter.
- Change depth before color. Work shallow, the break, and deeper water instead of making ten lure-color changes at the same unproductive depth.
- Change speed next. Slow down when fish are inactive. Speed up or switch to a crankbait when you need to find scattered active fish.
- Move when the spot gives you no reason to stay. Beginner confidence grows faster from learning several pieces of structure than from spending hours on one empty-looking area.
Common beginner mistakes
- Buying colors instead of learning depth. A small, useful tackle selection is easier to understand than twenty nearly identical choices.
- Fishing a jig you cannot feel. If wind or current hides bottom contact, use more weight or a more direct angle.
- Staying at one depth all day. Light, weather, season, and forage can move fish.
- Assuming dawn and dusk are the only times. Low light can be excellent, but midday fish still exist. Change where and how you fish.
- Starting with complicated trolling systems. Learn one rod, one depth, and one presentation before adding boards, multi-line spreads, and precision trolling data.
- Forgetting landing tools. Walleye have sharp teeth. A net and pliers make hook removal safer for both angler and fish.
Walleye troubleshooting: what to change first
| Problem | Change first | Why |
|---|---|---|
| No bites | Depth or location | A perfect lure cannot help much if it never reaches fish. |
| Cannot feel bottom | Jig weight or line angle | Bottom contact is the reference point for jigging. |
| Constant snags | Lighter jig, higher retrieve, cleaner angle | Too much bottom contact can turn into wasted time in rock or timber. |
| Fish follow but do not bite | Slow down or hold bait in place | A slip bobber or slower jig can keep the presentation available longer. |
| Fish are scattered | Cover more water | A crankbait or controlled trolling pass can search efficiently. |
Change depth or location
Find fish before fine-tuning lure details.
Adjust jig weight
Use enough weight to regain a clear bottom reference.
Lighten up or change angle
Reduce unnecessary bottom contact around rock or wood.
Cover more water
Use a moving bait or controlled trolling pass.
Safety, handling, and regulations
Fishing rules are local. Season dates, protected waters, size and bag limits, live-bait rules, and special regulations can change by state and waterbody, so check the current agency rules before every trip. If you plan to keep fish, measure them correctly and stay within the current limits.
Use pliers for hook removal and keep fingers away from a walleye’s teeth. When releasing a fish, minimize time out of the water, handle it with wet hands, support the body rather than hanging a large fish by the jaw, and release it promptly when conditions allow.
How this beginner guide was researched
This page is a research-based technique guide, not a report of GearAndFish field testing. We checked the current US search results for beginner walleye intent, used authoritative fishing guidance for basic technique and seasonal behavior, verified current GearAndFish pages before adding internal links, and rechecked each Amazon US child listing used as a product example.
For a state-agency reference on walleye basics, see the Minnesota DNR walleye guide.
Walleye fishing FAQ
What is the easiest way to catch walleye for a beginner?
Start with a spinning rod and a 1/4-ounce jig tipped with a minnow or soft plastic, then fish points, drop-offs, weed edges, rock, or current where you can maintain bottom contact. If 1/4 oz is too light or too heavy for the depth and wind, adjust the jig weight before changing colors.
What pound test line should a beginner use for walleye?
Six to 10 lb line is a practical starting range for a general walleye spinning setup. Monofilament is simple to manage, while light braid with a suitable leader can improve sensitivity. Match the line to the rod, lure weight, cover, and exact reel capacity.
Can you catch walleye from shore?
Yes. Shore anglers can target rocky points, riprap, current seams, river mouths, accessible dams where fishing is permitted, and shallow feeding areas during low light. The key is finding shoreline locations that give you access to useful depth or moving water.
What time of day is best for walleye fishing?
Dawn, dusk, cloudy periods, and windy low-light conditions can be especially productive because walleye often feed more confidently then. Midday can still produce fish, but you may need to move deeper, fish tighter to structure, or slow the presentation.
Do I need a fish finder to catch walleye?
No. A fish finder is useful for locating depth changes and offshore fish, but beginners can catch walleye by reading visible structure, maps, current, wind, and shoreline contours. Sonar becomes more valuable when the fish move deeper or suspend away from obvious structure.
What size jig should I use for walleye?
Use the lightest jig that still lets you maintain the depth and bottom contact you need. Common starting weights include 1/8, 1/4, and 3/8 oz. Depth, wind, current, line, and presentation angle matter more than choosing one weight for every situation.